Key takeaways
- Identify adhesive hooks before moving, match each to its removal instructions and record access, unresolved questions and actual results.
What's inside
Plan adhesive-hook removal before moving out by identifying each product, saving its exact removal instructions and leaving access to the release area. The most important preparation is knowing what is attached to the wall. Hooks that look similar can use different adhesive systems, so one remembered pulling motion is not a reliable plan for every item.
Keep the removal plan separate from any promise about wall condition or a rental deposit. Existing paint, installation history and the product used all matter, and a marketing phrase is not a guarantee about your particular surface.
Make an inventory while the details are available
Walk through the apartment and record every adhesive-mounted hook, clip and picture-hanging product you intend to remove. Give each a simple location code, such as E1 for the first entryway hook. Note the brand, product family and package reference where known.
Photograph the installed item and retain the original package or instruction link. Do not peel or pry at an unidentified hook to discover its identity. A receipt can help narrow the product, but a broad receipt description such as “wall hooks” may not identify the exact adhesive system.
Where the identity remains uncertain, mark it unresolved and seek appropriate product or property advice before removal day. This prevents a hurried final walk-through from becoming the first time anyone notices that the instructions are missing.
Match the removal method to the product family
Command’s US FAQ describes removal for its conventional hook arrangements: expose the tab where applicable, support the base gently and stretch the tab slowly downward along the wall rather than outward. The same FAQ explains that paint condition and an incorrect pulling direction can contribute to paint removal, and that broken-tab situations need the relevant instructions.
That method is not universal even within one brand. The official Command Adjustables page describes slowly peeling that product upward for removal. This difference is why the inventory needs a product family, not just the word “Command.” Follow the instructions supplied for your exact product and market.
Do not turn these examples into a mixed procedure. If your item cannot be matched confidently, pause rather than choosing whichever direction is easiest to reach. Other brands and permanent mounting tapes may have different requirements altogether.
| Field | Example entry format | What it resolves |
|---|---|---|
| Location code | Room and specific position | Which installation is being discussed |
| Product identity | Brand, family, package reference | Which instructions apply |
| Surface history | Known finish and existing condition | Questions requiring advice |
| Release access | Visible, obstructed or unknown | Whether the prescribed method is accessible |
| Removal reference | Saved official instructions | Prevents a guessed technique |
| Result and follow-up | Actual outcome and unresolved issue | Creates an honest handover record |
Plan access before packing the room
Look at what sits below and beside each hook. A cabinet, rail or another adhesive item may obstruct the movement described by the instructions. Record that access problem without attempting removal while furniture blocks the required area.
Move only items you can safely move and plan any necessary assistance. Keep a stable working position and clear the immediate area so a removed object does not land on someone or damage belongings. Take down the object being supported before dealing with its mounting product, following the relevant directions.
Keep the instructions available after the internet router and printer are packed. A saved copy or clearly labeled paper sheet can prevent the last-day temptation to improvise. Put removed reusable hardware in a separate labeled container only if its maker permits reuse with the appropriate replacement adhesive.
Worked example: three similar-looking white hooks
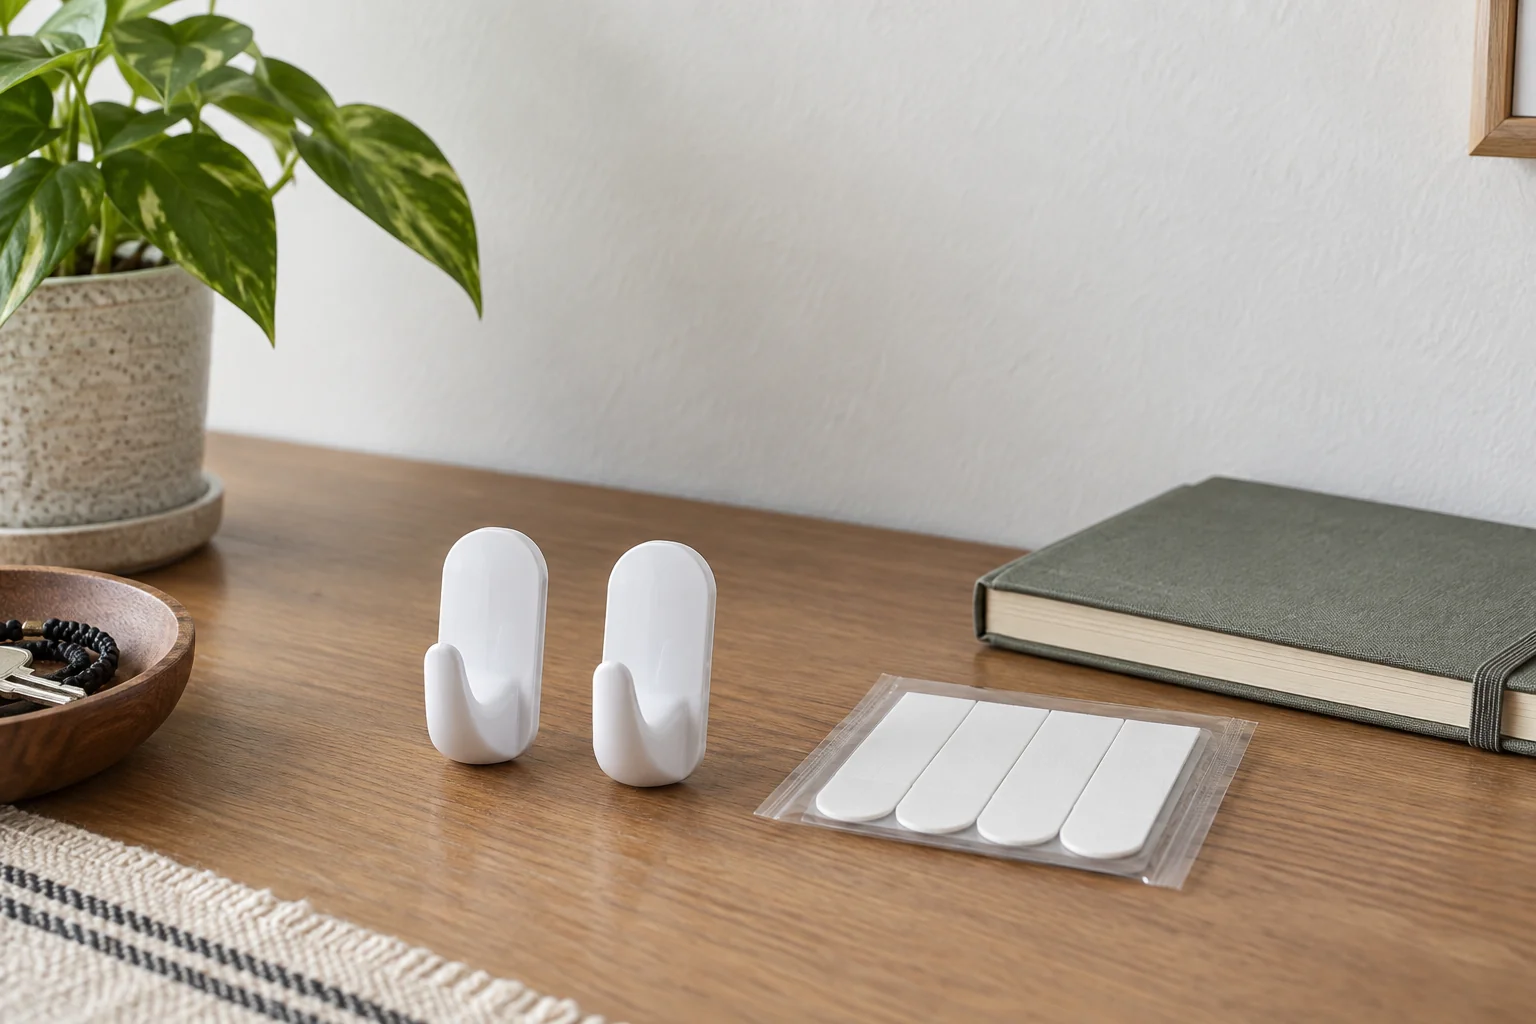
In a fictional move, a tenant finds three white hooks. E1 has its original package and a clear removal tab. E2 belongs to a different product family with a different official removal method. E3 has no identifiable packaging and sits partly behind a fixed fitting.
The tenant records three separate actions. E1 and E2 are scheduled according to their own directions, with clear access. E3 remains unresolved while the tenant contacts the relevant support or property representative. They do not apply E1’s instructions to all three just because the hooks share a color.
After removal, the record describes what actually happened. A photograph of the bare area accompanies the result, while any residue or finish problem is listed separately. The example demonstrates planning and documentation, not a guarantee of damage-free removal.
Do not invent a universal rescue treatment
If a tab breaks or the wall finish begins to lift, stop and consult the specific troubleshooting instructions. Avoid adding a solvent, scraping tool or heat treatment simply because an online tip recommends it for another adhesive. The product and surface both need to be considered.
Complete the inventory before the final day so unresolved items have time to receive an answer. Keep repair discussions separate from removal instructions and follow the applicable property arrangements. A good plan leaves a clear record of product identity, method and outcome, with uncertainty visible rather than hidden behind an optimistic tick box.