Key takeaways
- Measure the open rack, hanging garments, loading position and door movement before choosing a drying location in a shared room.
What's inside
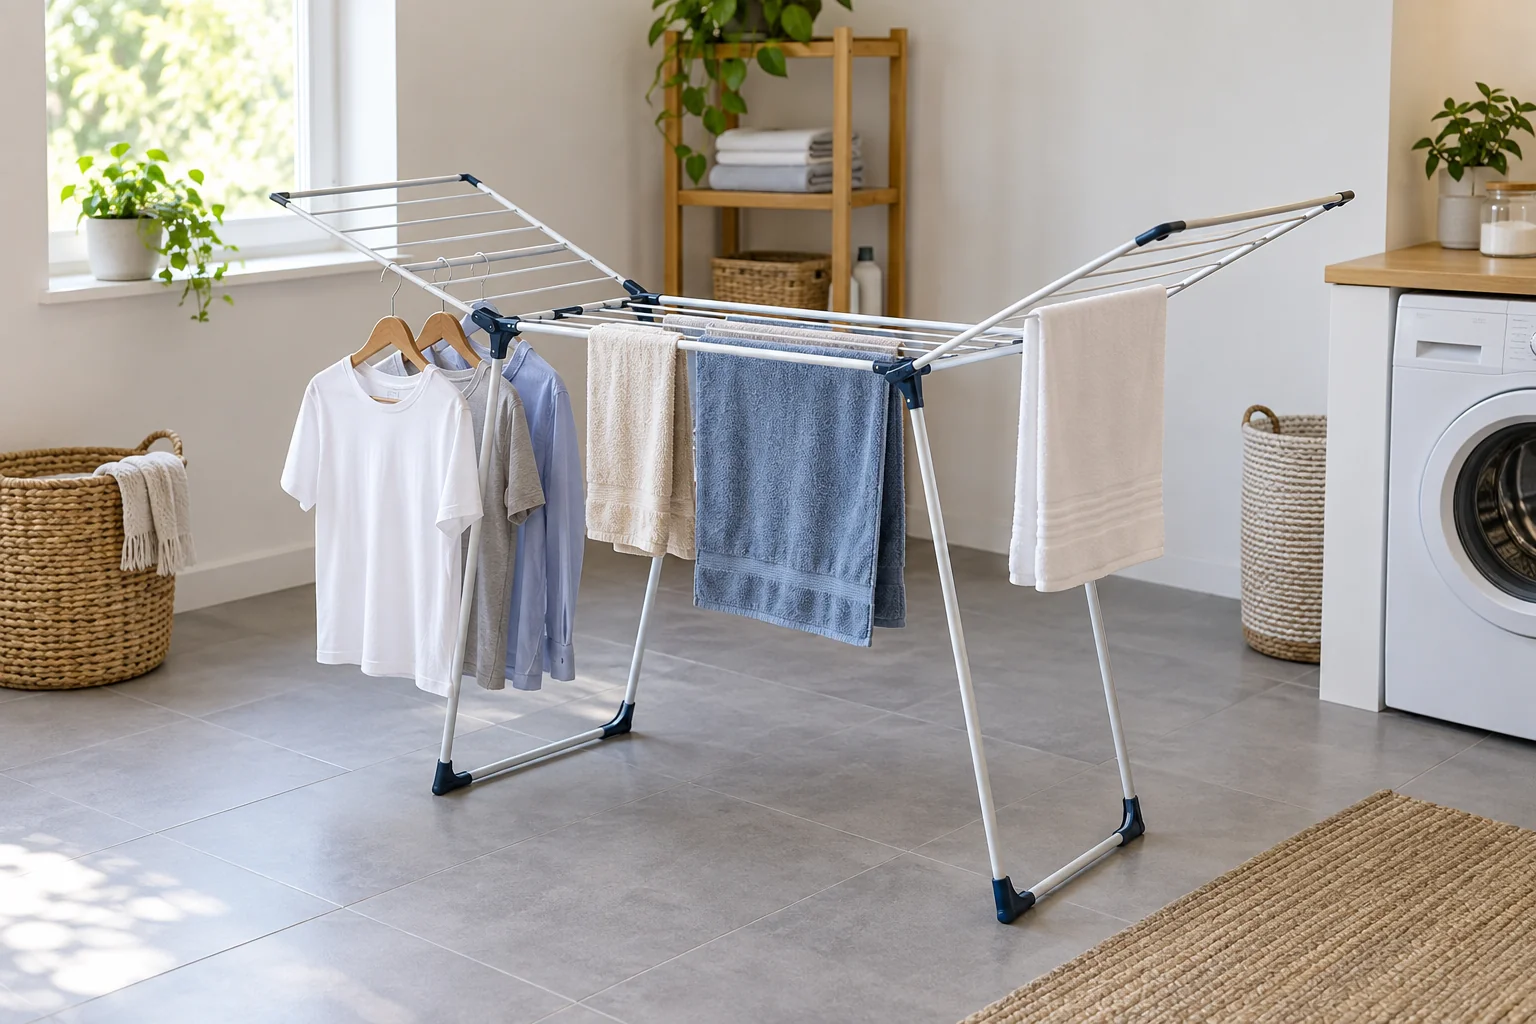
Measure a drying rack in its open working position, then add the space occupied by the actual hanging clothes and the access needed to load and unload them. Folded dimensions and total drying-line length answer different questions. Neither tells you whether a damp shirt will brush the wall or block a doorway.
The practical result is a simple floor sketch with three outlines: the rack, the hanging laundry and the route people still need. Make that sketch before deciding that an unused corner is a suitable drying area.
Identify which dimensions the listing describes
Write down the exact rack model and variant. A version with a hanging rod can occupy a different shape from one without it. Look for dimensions labeled open, in use or assembled, and distinguish them from folded and packaged dimensions. If the listing does not say which state is measured, ask the supplier rather than making the smaller number fit your room.
The Brabantia HangOn 25-metre White listing, SKU 403446, describes adjustable wings and hooks for eight hangers. Its 25-metre figure is total drying length, not a room dimension. Those features illustrate why wing setting and hanging shirts need their own space check; they do not establish a universal footprint for other racks.
Record the intended configuration beside the measurements. “Wings high, shirts on outer hooks” is more useful than a single width without context. Follow the rack’s setup, locking and loading instructions before measuring an actual unit.
Map the rack and the clothes separately
On a clear, level location suitable for the product, measure the widest and deepest points of the open frame. Include projecting feet, handles and wings. A narrow set of feet does not mean the whole rack fits within that rectangle.
Next use representative garments: the shirt on its intended hanger, a long item folded as its care instructions allow, and the towels normally dried there. Measure the resulting outer outline without pulling fabric taut just to reduce the space. Keep garments off the floor and away from surfaces they should not touch.
Check height as well as floor area. A hanger may raise a shirt above the rail while its sleeves extend sideways. A long item can reach below the rack even when its upper section fits. Do not raise adjustable parts beyond the manufacturer’s permitted position to rescue an unsuitable layout.
| Measurement | Record | Question |
|---|---|---|
| Open frame | Width, depth, highest point | Does the complete frame fit? |
| Loaded outline | Outermost garment edges | Will fabric touch walls or furniture? |
| Lowest fabric | Clearance above floor | Does the chosen hanging method work? |
| Loading position | Where you stand and place the basket | Can you reach without leaning across laundry? |
| Door movement | Door outline in use | Can the door open normally? |
| Shared route | Actual route remaining | Is circulation still suitable? |
Check the working routine, not just the final pose
Stand where you would normally load the far side. Place the empty basket where it would sit during the task. If you must move the rack while reaching over wet clothes, reconsider the location or load arrangement. Do not assume that a product’s folding or transport feature permits moving it in every loaded configuration.
Open nearby doors and drawers through their normal travel without contacting the rack. Keep required exits and access to essential controls available. A measured gap is not a building-code or accessibility clearance, and this worksheet does not establish a minimum route width for every home.
Consider the room’s ventilation and the product’s permitted environment. The cited HangOn listing limits outdoor use and excludes rain or corrosive environments. Do not generalize its allowance to another rack or place laundry against a heater to shorten drying time. Follow the garment, appliance and rack instructions.
Worked example: the frame fits but the shirts do not
In a fictional room, an open rack measures 150 by 60 centimeters. The available rectangle is 180 by 100 centimeters. On paper, the bare rack fits. With shirts on the outside hooks, however, the measured clothing outline becomes 180 by 85 centimeters.
Along the 100-centimeter depth, only 15 centimeters remain outside that loaded outline. That is leftover space in the sketch, not an approved passage. The household also finds that the room door crosses one sleeve. The plan fails even though the frame dimensions looked comfortable.
The household tests a different location and reduces the number of outer-hung shirts. It measures again rather than assuming that fewer garments shrink the outline evenly. No drying-time or load-capacity conclusion follows from this example.
Keep a repeatable setup record
Save the rack configuration, garment types and floor sketch together. A quick photograph can help reproduce the arrangement, but written measurements should identify what the photograph cannot establish. Record any product limit separately from your own room measurement.
Recheck when you change the rack, start drying longer garments or move furniture. Keep the folded-storage check as a separate entry. A rack that stores neatly may still be awkward in use; a successful plan makes room for the full laundry task from setup through put-away.