Key takeaways
- Separate ready-to-leave books and parcels from unfinished returns, with a simple departure register and clear household handovers.
What's inside
A return station works when it separates items that are ready to leave from items that still need a decision, label or missing accessory. Give library books and parcels a shared departure location, but keep their destinations and deadlines distinct. A basket by the door is only the final step in that process.

Define three states before choosing baskets
Use three simple states: needs action, ready to leave and handed over. “Needs action” includes a return awaiting authorization, a library item missing a companion disc or a parcel without its correct label. “Ready” means the next person can take the item to a named destination without making another decision.
“Handed over” belongs in a small record, not in a third physical pile. Save the relevant receipt or confirmation after departure. Otherwise an empty basket can be mistaken for proof that a parcel was accepted or a borrowed item was checked in.
Choose language everyone in the household understands. For a shared home, initials beside the next action can prevent two people from each assuming the other is responsible. Keep account numbers, addresses and other private details out of a prominently displayed household chart.
Fit the station to the items and the route
Measure the largest book you normally borrow and the ordinary parcels you return. Choose an existing shelf or table that can hold them without overhang and within its intended capacity. Keep the station out of the door swing and walking route. A large package can stay in a suitable separate location with a reminder card at the station.
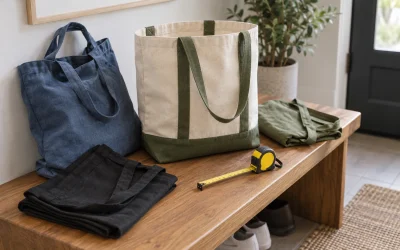
Library materials should be protected from wet umbrellas, shoes and leaking drinks. Separate them from parcel tape and packaging debris. A book tote is useful when it is clean and appropriate for the contents; it need not be a permanent open bin exposed to every item dropped at the entrance.
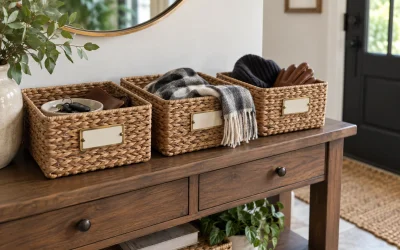
Begin with containers already available. Decorative matching baskets are optional. What matters is that the ready items remain identifiable when the station contains both a flat envelope and an awkwardly shaped box.
Use this original departure register
| Item | Destination | Next action | Deadline source | Handover evidence |
|---|---|---|---|---|
| Borrowed book set | Named library branch | Check all volumes are present | Library account or receipt | Account update or receipt if provided |
| Retail return | Specified carrier or drop-off | Complete approved packing instructions | Retailer’s actual authorization | Acceptance receipt or tracking record |
| Borrowed household item | Named owner | Confirm a suitable handover | Agreed date | Personal confirmation |
Add an owner and a planned trip beside each row. Record the deadline as it appears in the applicable instructions. A retailer may distinguish between initiating a return and having it shipped or received; a handwritten “return by Friday” should not erase that distinction.
Prepare parcels in a separate work area
Open the actual return instructions before sealing anything. They may require an included document, a particular carrier, original accessories or a specific drop-off process. A QR-code return may work differently from a parcel that needs a printed label. The station should preserve those instructions with the correct item.
USPS’s domestic packaging guidance calls for suitable strong packaging and covering or blacking out old logos, barcodes, shipping labels and addresses on reused boxes. Apply the relevant carrier’s instructions to your shipment, including any rules for restricted contents. A ready basket is not evidence that an item is eligible to mail.
Put the prepared parcel in the ready area only after matching the return authorization to the contents. If several similar items came from different orders, identify them while the boxes are still open. Keep the reference privately with the household record rather than exposing unnecessary details on the shelf.
Worked example: two trips, three items
Imagine a household with two library books due on Thursday, a clothing return whose instructions require shipment by Wednesday, and a borrowed baking tin with no agreed return date. These are illustrative dates and conditions, not library or retailer policies.
The books go together in their tote for Tuesday’s library visit. The sealed, correctly labeled return goes in the parcel section for Monday’s carrier trip. The tin remains in the needs-action area until someone contacts its owner. Grouping all three under “take out this week” would hide the earlier parcel deadline and leave the tin’s destination unresolved.
After each trip, the responsible person updates the register. A failed drop-off returns to needs action with the reason recorded. It should not simply reappear in the ready pile and be carried out again under the same mistaken assumption.
Make the station easy to reset
At a regular household check, remove receipts that have been stored appropriately, resolve forgotten items and clear unrelated mail. If ready items repeatedly remain untouched, adjust the departure cue: place the tote with the bag used for that trip, or add the errand to the household calendar.
Keep the system small enough to maintain. Its purpose is to show what must happen next and who will do it. A clear handover record and a usable exit route matter more than an elaborate organizer filled with items whose deadlines nobody has checked.