Key takeaways
- Build a compact balcony gardening kit with a measured layout, separate cleanup steps, and a clear home for each hand tool.
What's inside
Organize a balcony gardening carry box around one ordinary session: take out the tools, use them, separate dirty items, then return clean and dry equipment to its place. The box should hold your working kit without becoming permanent storage for wet gloves, loose potting mix and uncovered blades.
Start with the job, not the container
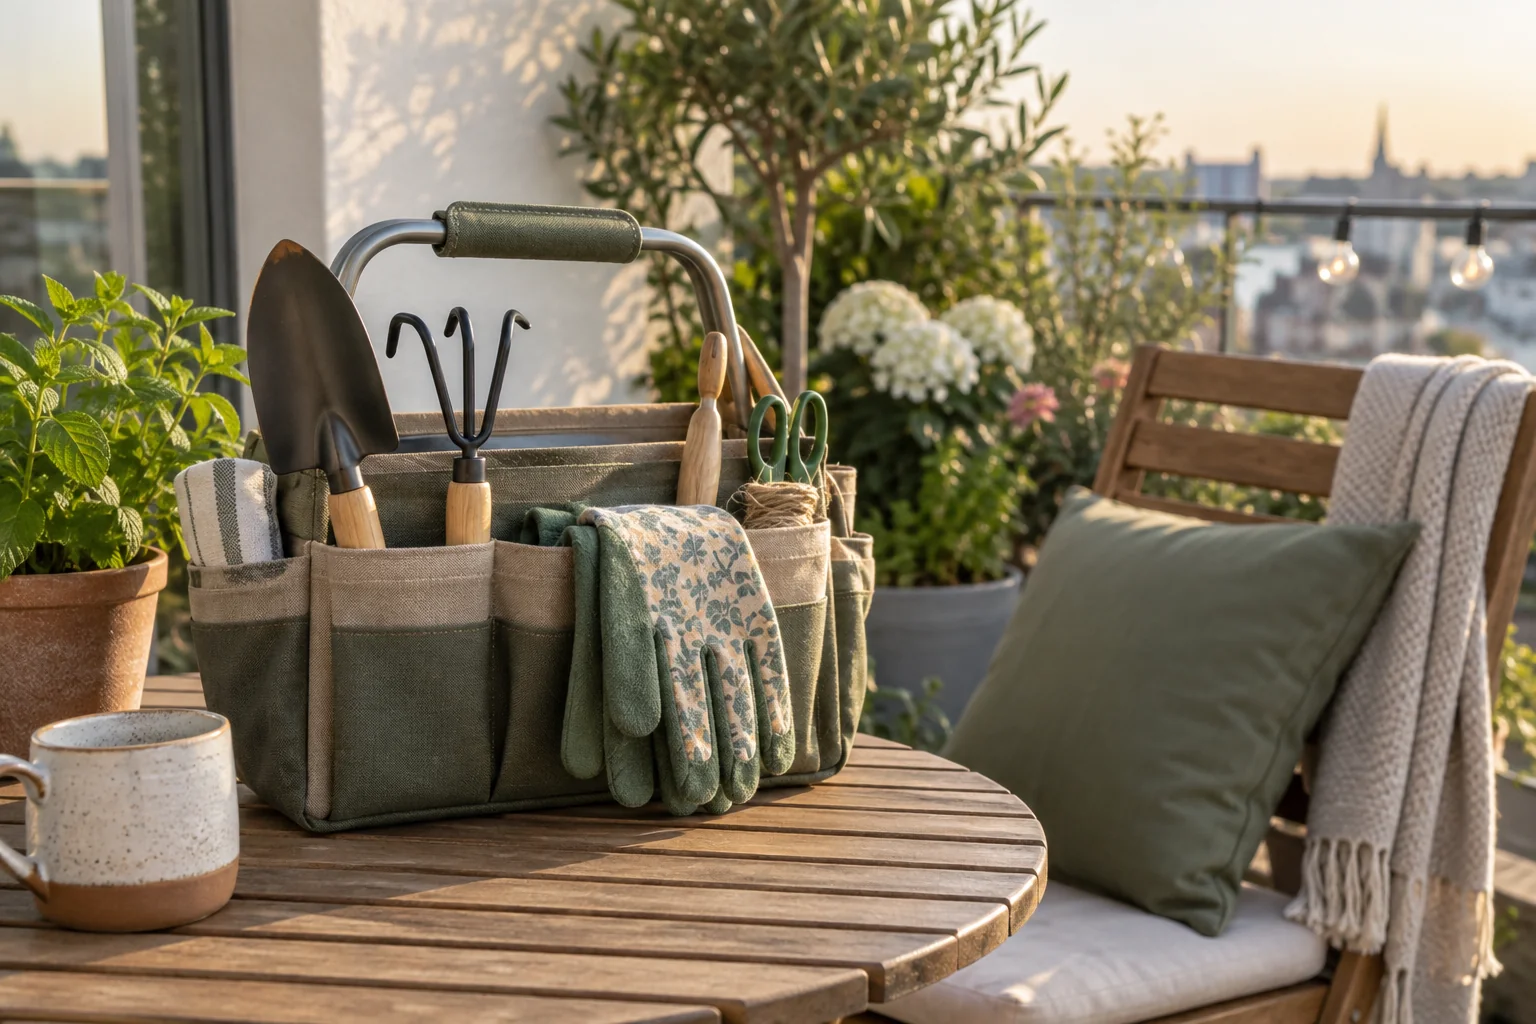
List the activities you actually perform on the balcony. Watering a few containers may require a small brush, gloves and plant labels. Repotting needs a different set and a place for displaced soil. Pruning brings cutting tools and their manufacturer-specified covers or locks. Build the everyday kit first, then keep occasional supplies separately.
Lay the selected items on a washable work surface and remove anything that belongs to another task. A large watering can or bag of compost does not have to fit inside the carry box. Making the box accommodate everything can leave you with an awkward load that is inconvenient to retrieve from indoor storage.
Keep fertilizers and treatment products in their original labeled containers and appropriate storage. The tool organizer is not a reason to decant chemicals into small unmarked jars or mix them with household supplies. This guide concerns the layout of a hand-tool kit, not chemical storage design.
Measure useful interior space
Record the longest tool with its protective cover fitted. Measure the box’s usable interior at the narrowest point, including any handle supports or divider slots. An outside dimension on a product listing does not tell you whether a trowel fits lengthwise or whether a lid closes without pressing on a handle.
Check how you will grasp and carry the box when it is filled with your chosen items. Follow the container’s stated capacity and intended use. A carrying handle may take up interior space, and a removable tray can reduce the available height beneath it. Evaluate the complete arrangement rather than an empty shell.
Put a lightweight paper rectangle on the worktop to represent the measured interior. Arrange the actual covered tools inside that outline. This reveals whether a divider would help or merely force short items to sit on top of long ones.
Give every item a return condition
The Royal Horticultural Society’s hand-tool guidance recommends removing soil from cultivation tools, drying washed tools and keeping cutting tools in a clean, dry place. Use the instructions for your tool’s materials and mechanism for any further cleaning or maintenance. The layout below turns that basic care step into a visible part of putting the kit away.
| Item group | Working location | Before returning | Home in the kit |
|---|---|---|---|
| Trowel and small fork | Repotting surface | Soil removed; dry | Long compartment with handles reachable |
| Pruning tool | Used only for its intended task | Care completed; cover or lock engaged | Separate protected position |
| Labels and ties | Dry work area | Unused pieces sorted | Small closed pouch |
| Gloves and cloth | Beside the current task | Cleaned and dried as appropriate | Dry compartment or separate storage |
Do not treat the wet-item location as another permanent compartment. A removable tray beside the box can hold items awaiting attention during cleanup, but return only the items that are ready for storage. This prevents a closed lid from hiding unfinished maintenance.
Worked example: simplify a crowded box
Consider an illustrative box with a usable interior 32 centimeters long and 20 centimeters wide. A covered hand tool is 29 centimeters long, so it fits lengthwise on paper with 3 centimeters remaining. That difference is total spare length, not clearance at each end. Handle supports may reduce it further.
A proposed 8-centimeter end compartment would leave only 24 centimeters for the tool. Instead, the owner uses a narrow side pouch for labels and keeps the long space intact. The glove pair dries separately, then returns beside the brush. This arrangement solves the measured conflict without buying a larger box.
Before relying on the plan, place the actual items in the container and check the lid and handle. The example does not establish a carrying-weight limit or prove that a similarly sized commercial box will have the same interior.
Choose the parking place before filling it
Give the kit a dry indoor destination that follows the tool and container instructions. Position sharp tools where children and other unintended users cannot access them. An open carry box is an organizer, not secure storage. Keep it clear of the balcony doorway, drainage points and normal walking route while working.
If the box sits on a shelf, confirm that the shelf is suitable for its filled weight and that you can remove the kit without lifting it over fragile objects. Avoid a location that requires balancing the box on a railing or reaching outside the balcony boundary.
Review after a few ordinary sessions
Note which item you repeatedly fetch from elsewhere and which item never leaves the box. Change one compartment at a time. A spare pocket is useful only if it has a defined purpose; otherwise it can collect loose ties and unidentified parts until they obscure the tools.
Keep a small inventory card inside the lid or with the stored kit. List the expected contents and the separate location of occasional supplies. The successful setup is easy to check when you finish: tools accounted for, care completed, and the balcony returned to its normal use.